Today’s mission was to replace my front control arm bushings, but I ended up getting a better deal.
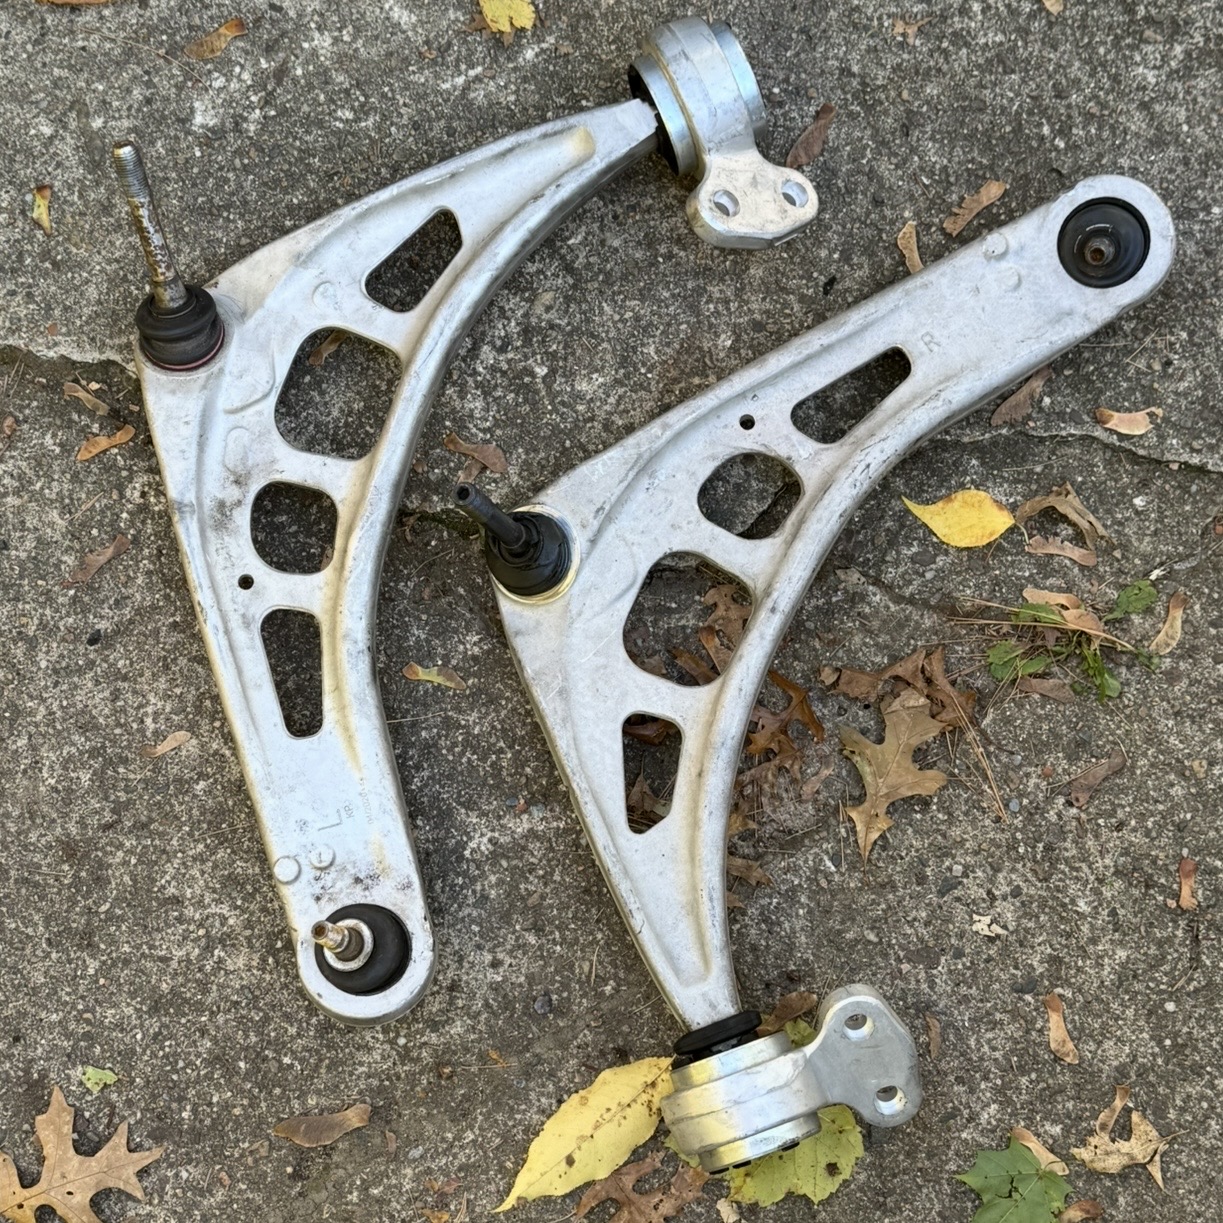
Found a pair of used control arms with brand new bushings for just $50. New bushings alone cost around $80–$95 depending on the brand, So I’m saving a lil bit here.
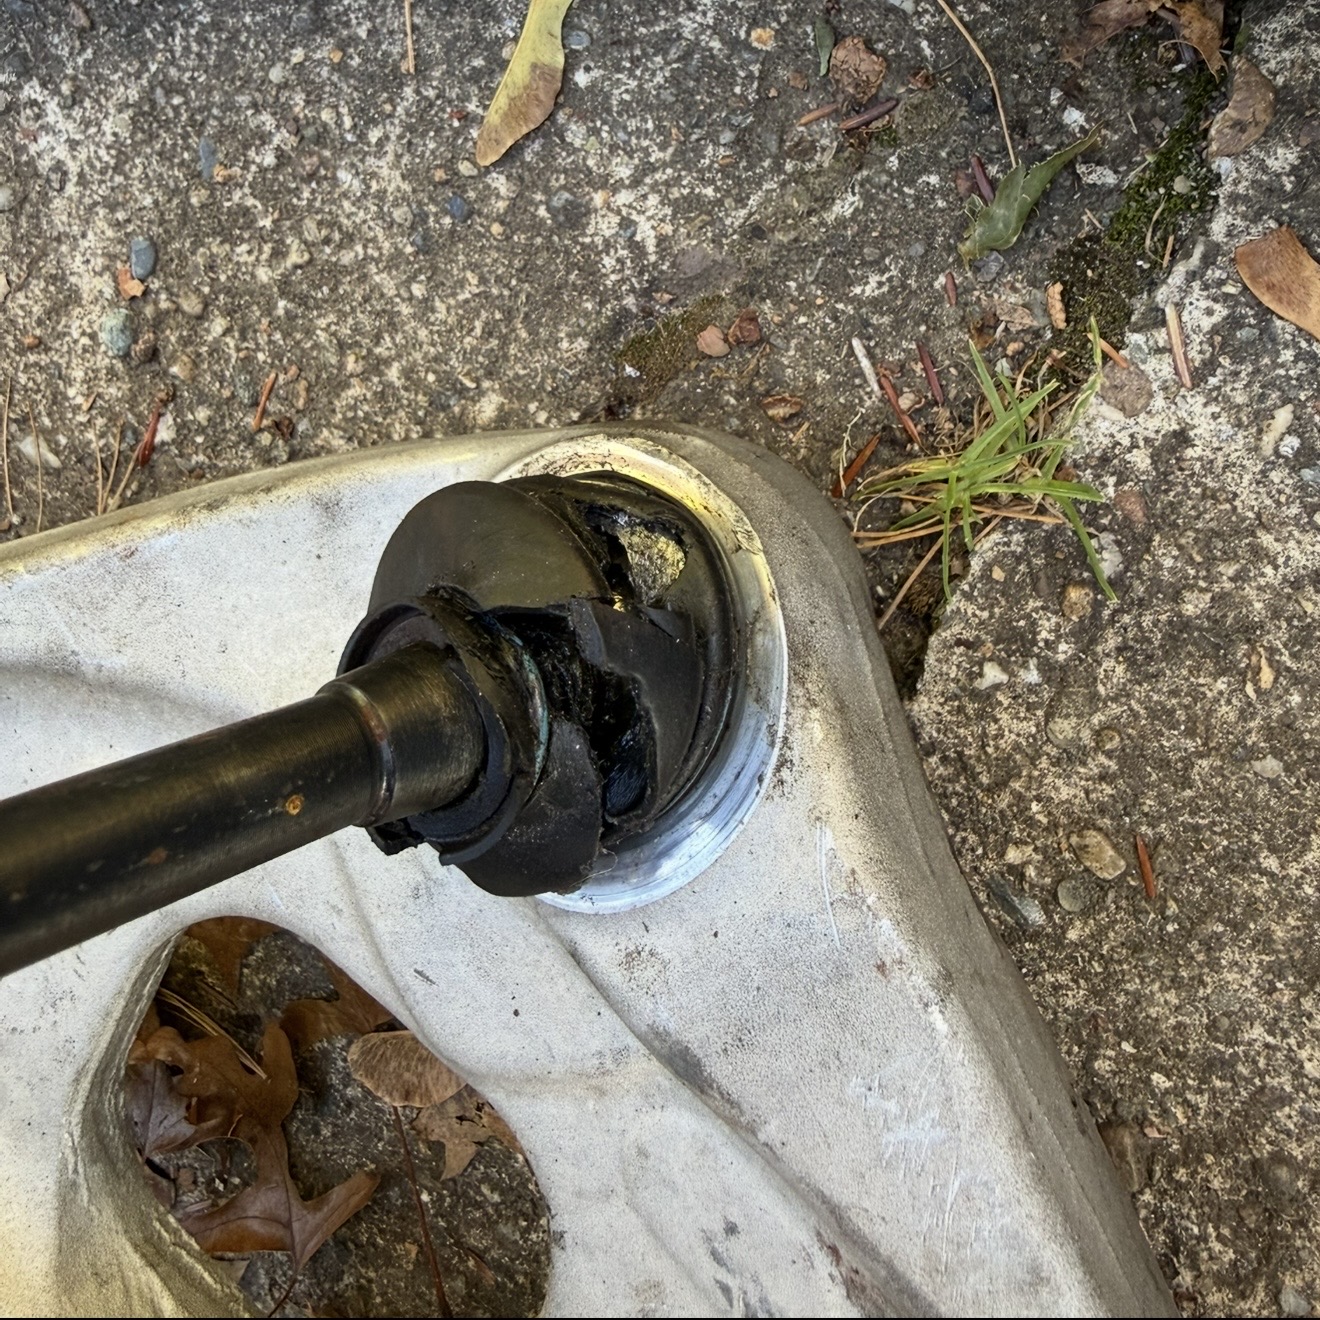
Unfortunately, one of the ball joint boots on the passenger side arm was ripped, so Instead of replacing the arm on that side I’ll just replace the bushing.
Starting Point
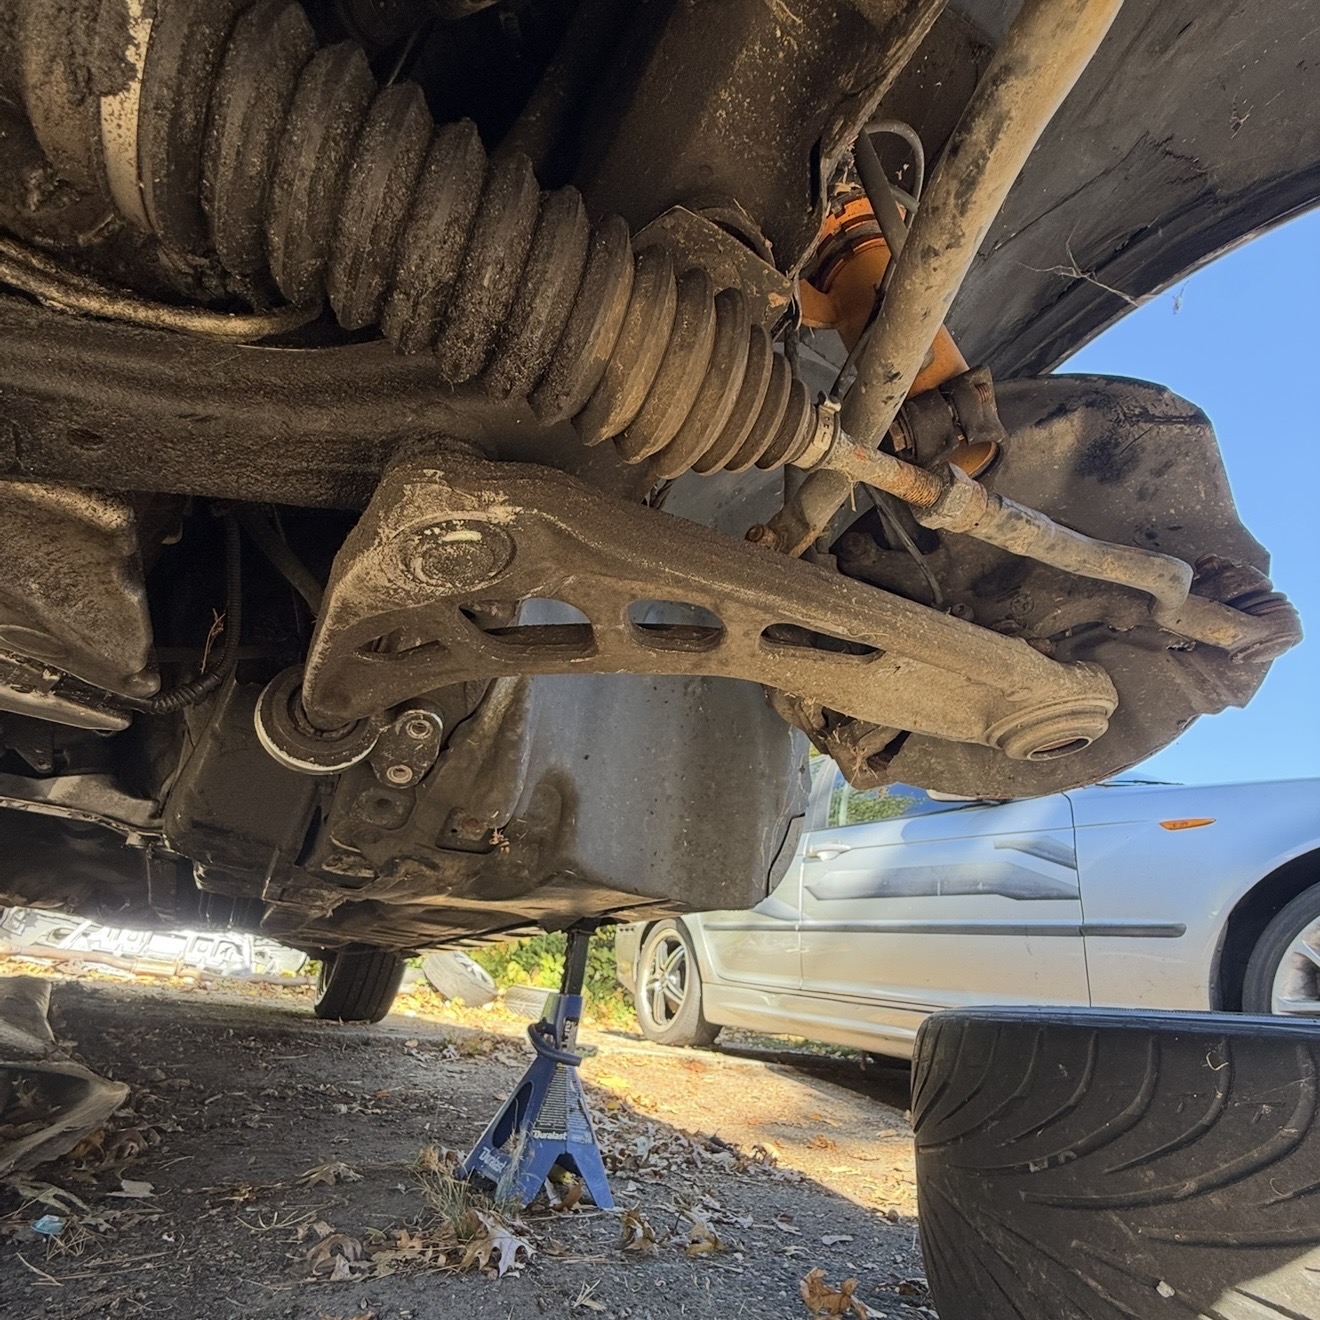
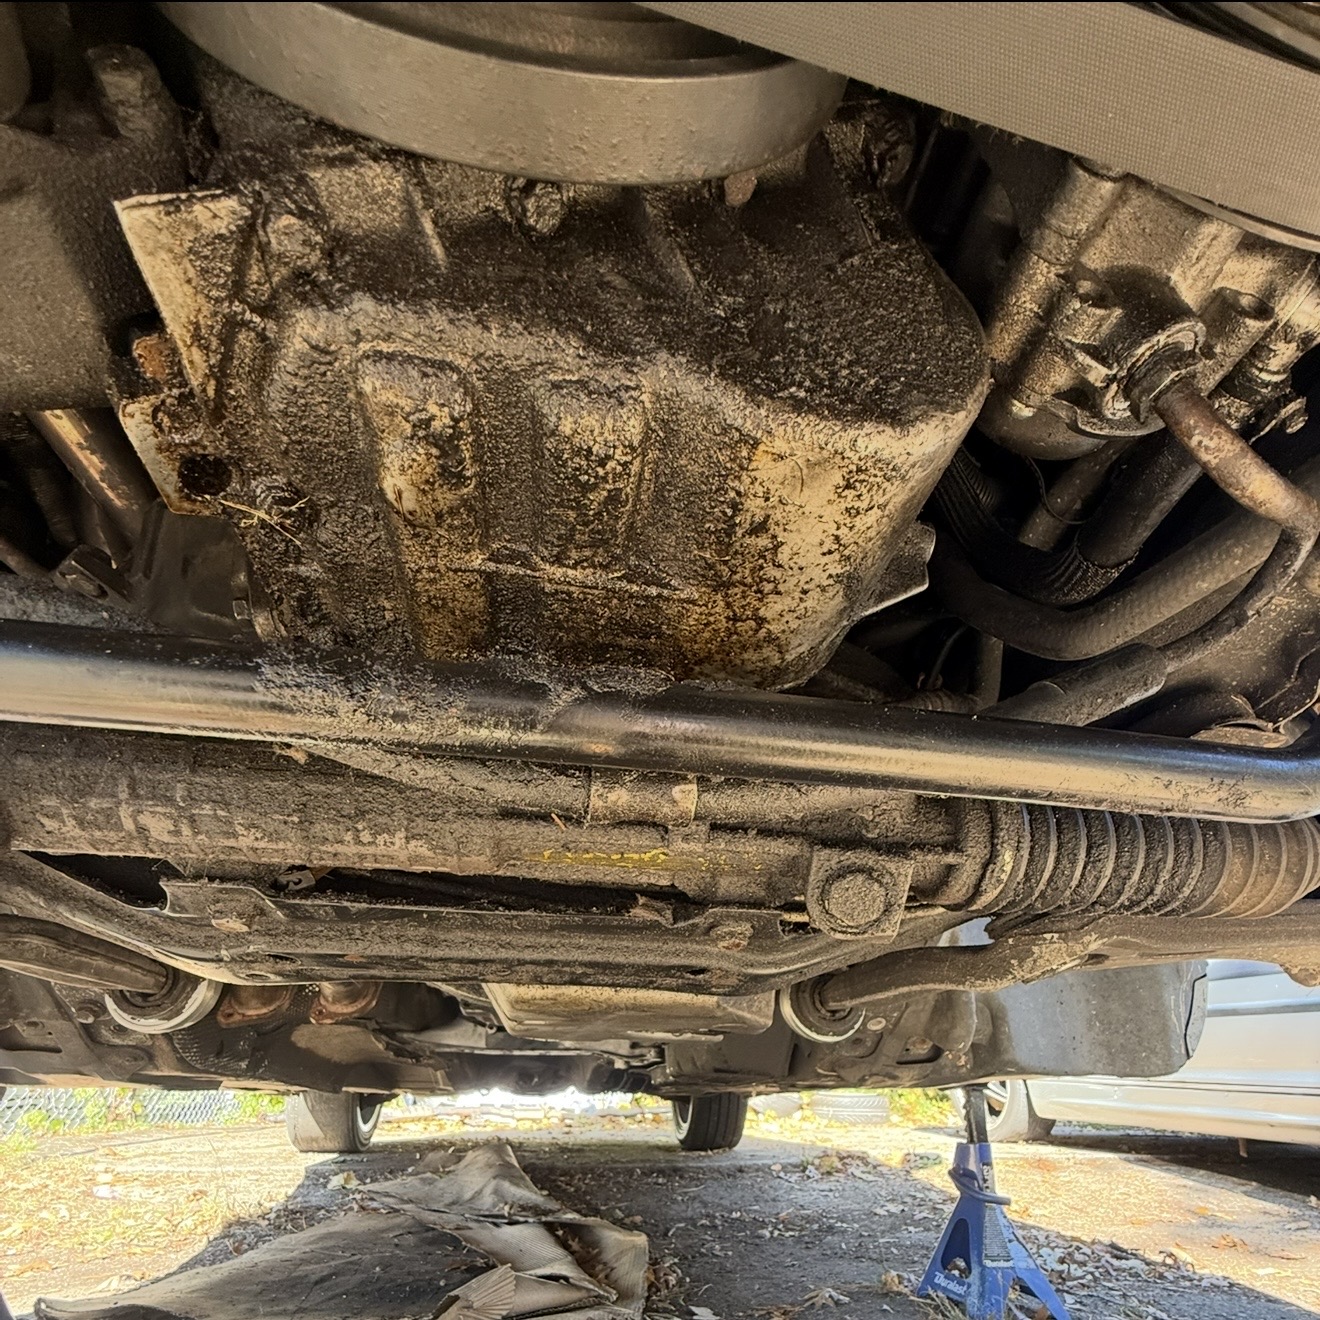
Here’s what we’re working with, years of oil leaks have coated everything.
I’m sure the previous owner didn’t bother cleaning anything under here, but luckily, I’ve already fixed the cause of the leaks. It just needs a serious degrease.
Removal
Each control arm is held in by two nuts and two bolts, so it’s a fairly simple job overall.
If you’re doing this yourself, you’ll also need a ball joint separator (pickle fork) to get the arms free.
Unfortunately, I forgot to take more pictures during the process, but once all the hardware is off, the control arm just drops out, and the new one slides right in.
The ball joint studs have a small 5mm hex socket for counter-holding while you tighten the nuts — super useful to avoid spinning.
Passenger Side Bushing
Since I’m only replacing the bushing on this side, the two mounting nuts are all that need to come off.
Using the pickle fork and a hammer, I knocked the old bushing off and tapped the new one on with a bit of lube to help it slide in smoothly.
Tools Used
- 16mm, 19mm, and 21mm sockets
- 5mm hex socket
- Ratchet and extensions
- Pickle fork
- Hammer
- Breaker bar
| ⏱ Time Taken | 🔩 Difficulty |
|---|---|
| ~40 minutes | ⭐☆☆☆☆ (Easy) |