Since the exhaust is out for a custom set up (post coming soon), I decided to address the shifter slop I’ve been dealing with.
Today’s job: replacing the worn-out shifter bushings, a relatively simple but satisfying install. Let’s get to it.
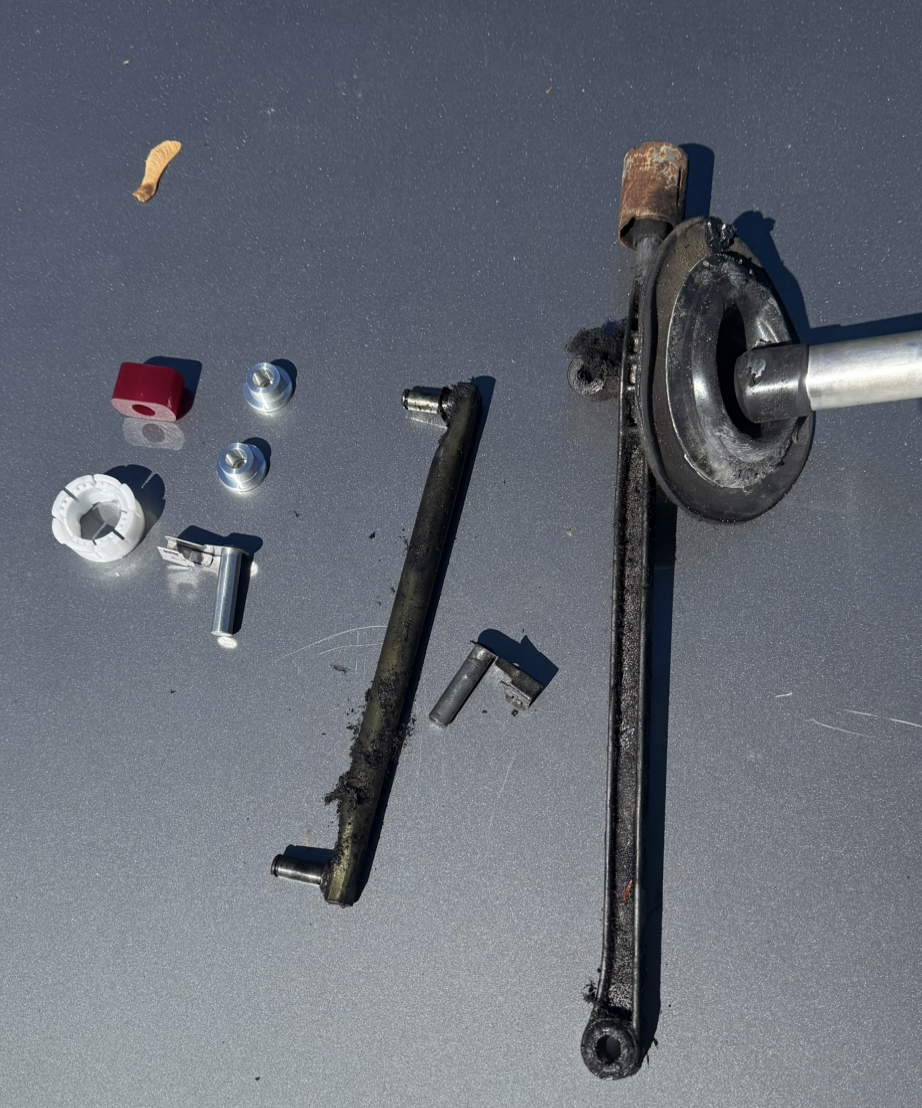
I’m using the Garagistic Shifter Rebuild Kit, which includes:
- Polyurethane rear carrier bushing
- Aluminum round shifter bushings
- OEM shifter cup
- OEM front carrier clip
Removal
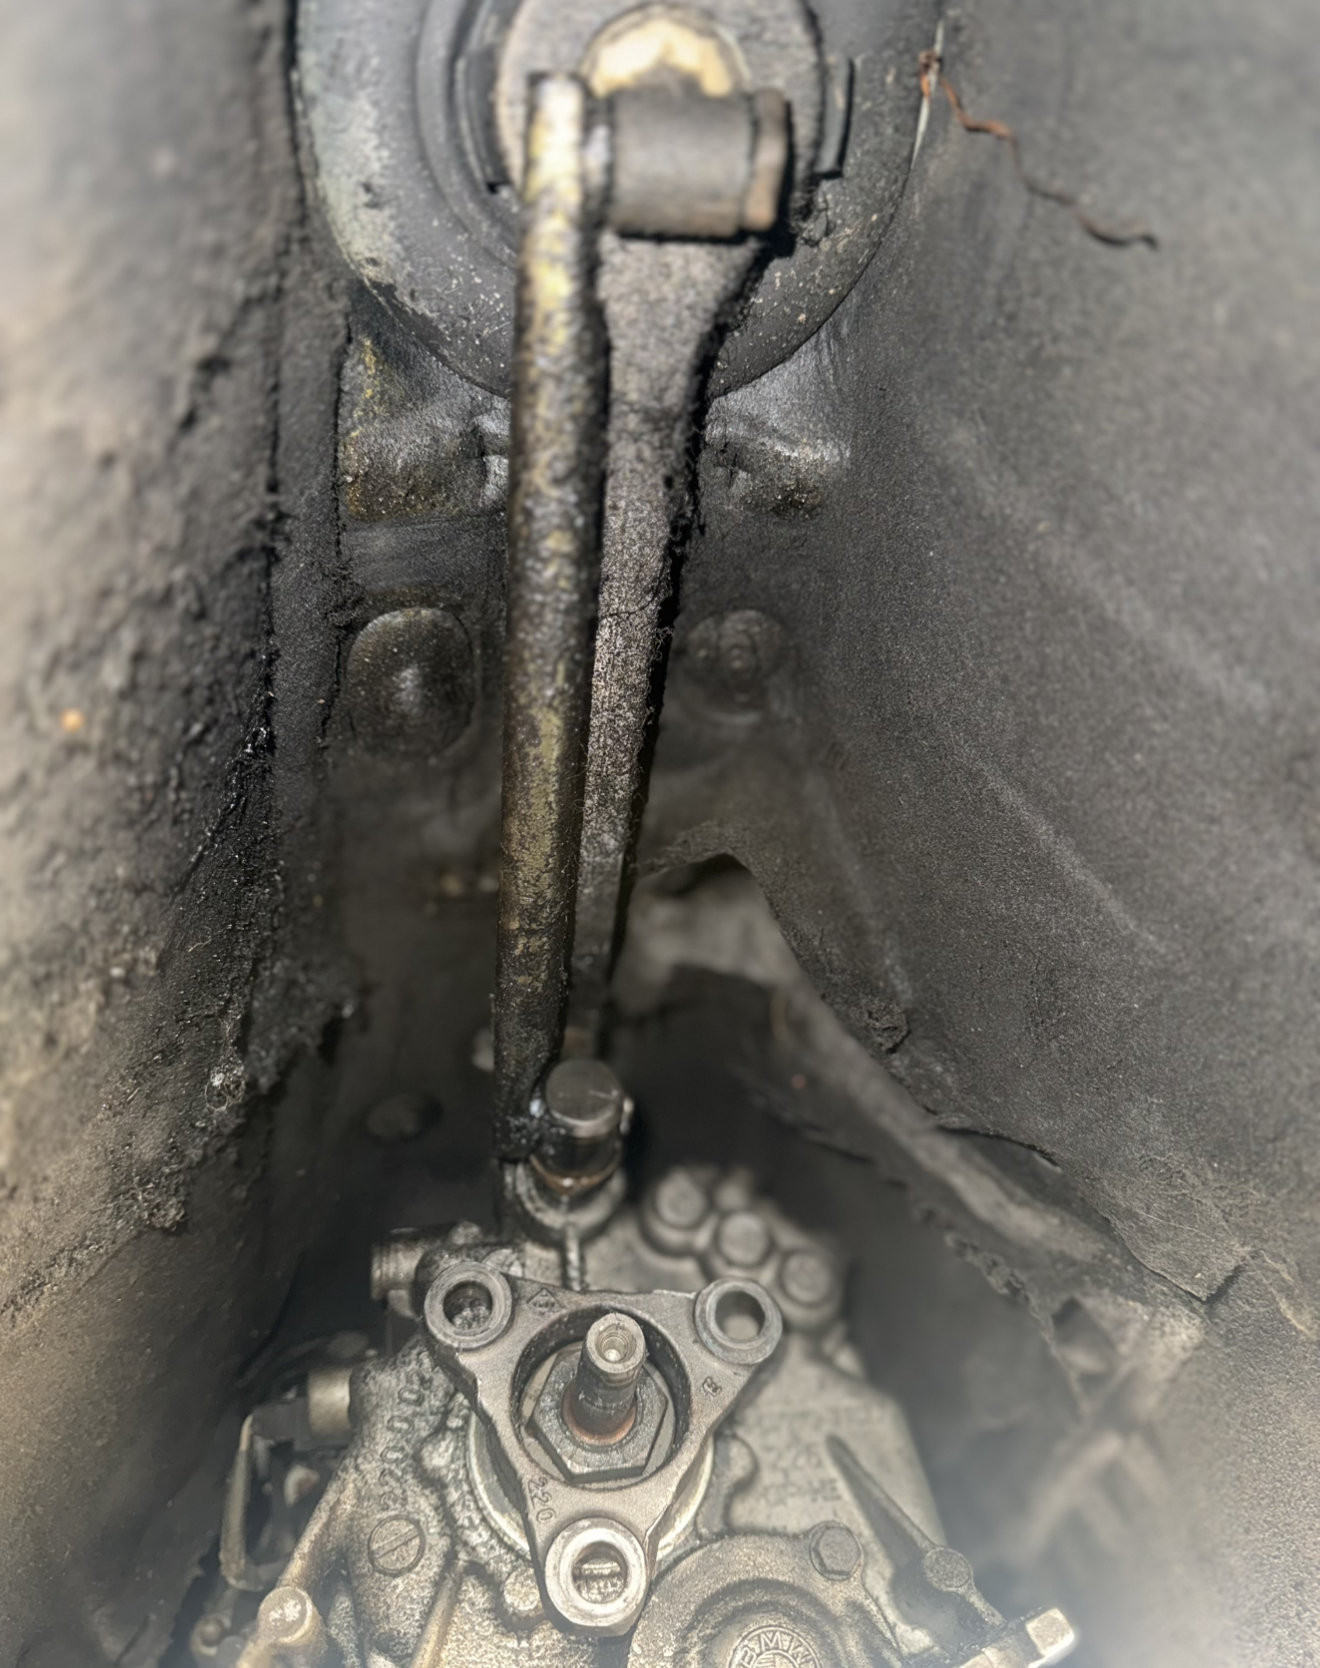
First things first, we’re going under the car.
If yours leaks oil like mine did, you’ll be greeted with some premium baked-on grime.
As mentioned before the exhaust is already out so the only things in the way are the heat shield, and driveshaft. With those removed the shifter assembly is in full view:
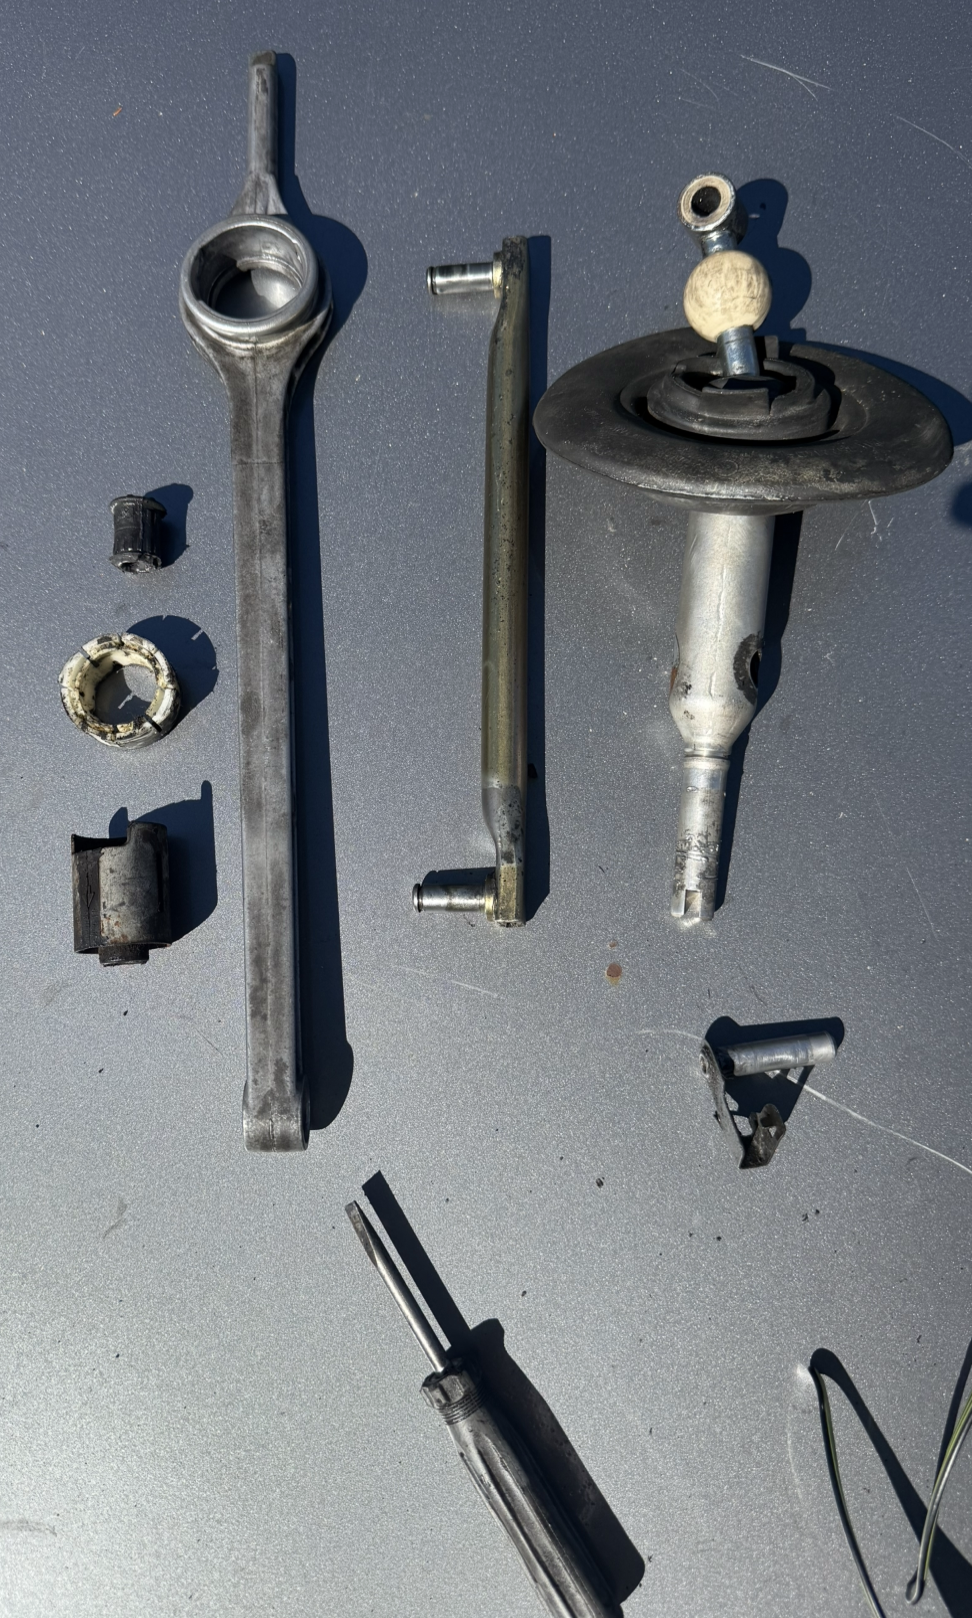
Getting it out wasn’t too bad, but the front carrier clip (affectionately known as the “bitch clip”) definitely lived up to its name. Thankfully, the kit included a new one since the old clip didn’t survive removal.
Once everything was out, I gave it a quick clean before installing the new bushings.
Installation
With all the new parts ready, it was time to throw everything back in.
With the aluminum round bushings it was a super tight fit, lining it up so the front carrier clip could slide through was a bit of a fight. Once that was in, I got starter the rear carrier bushing. It needed a few gentle persuasion taps with a hammer (maybe more than a few), but it all came together cleanly in the end.
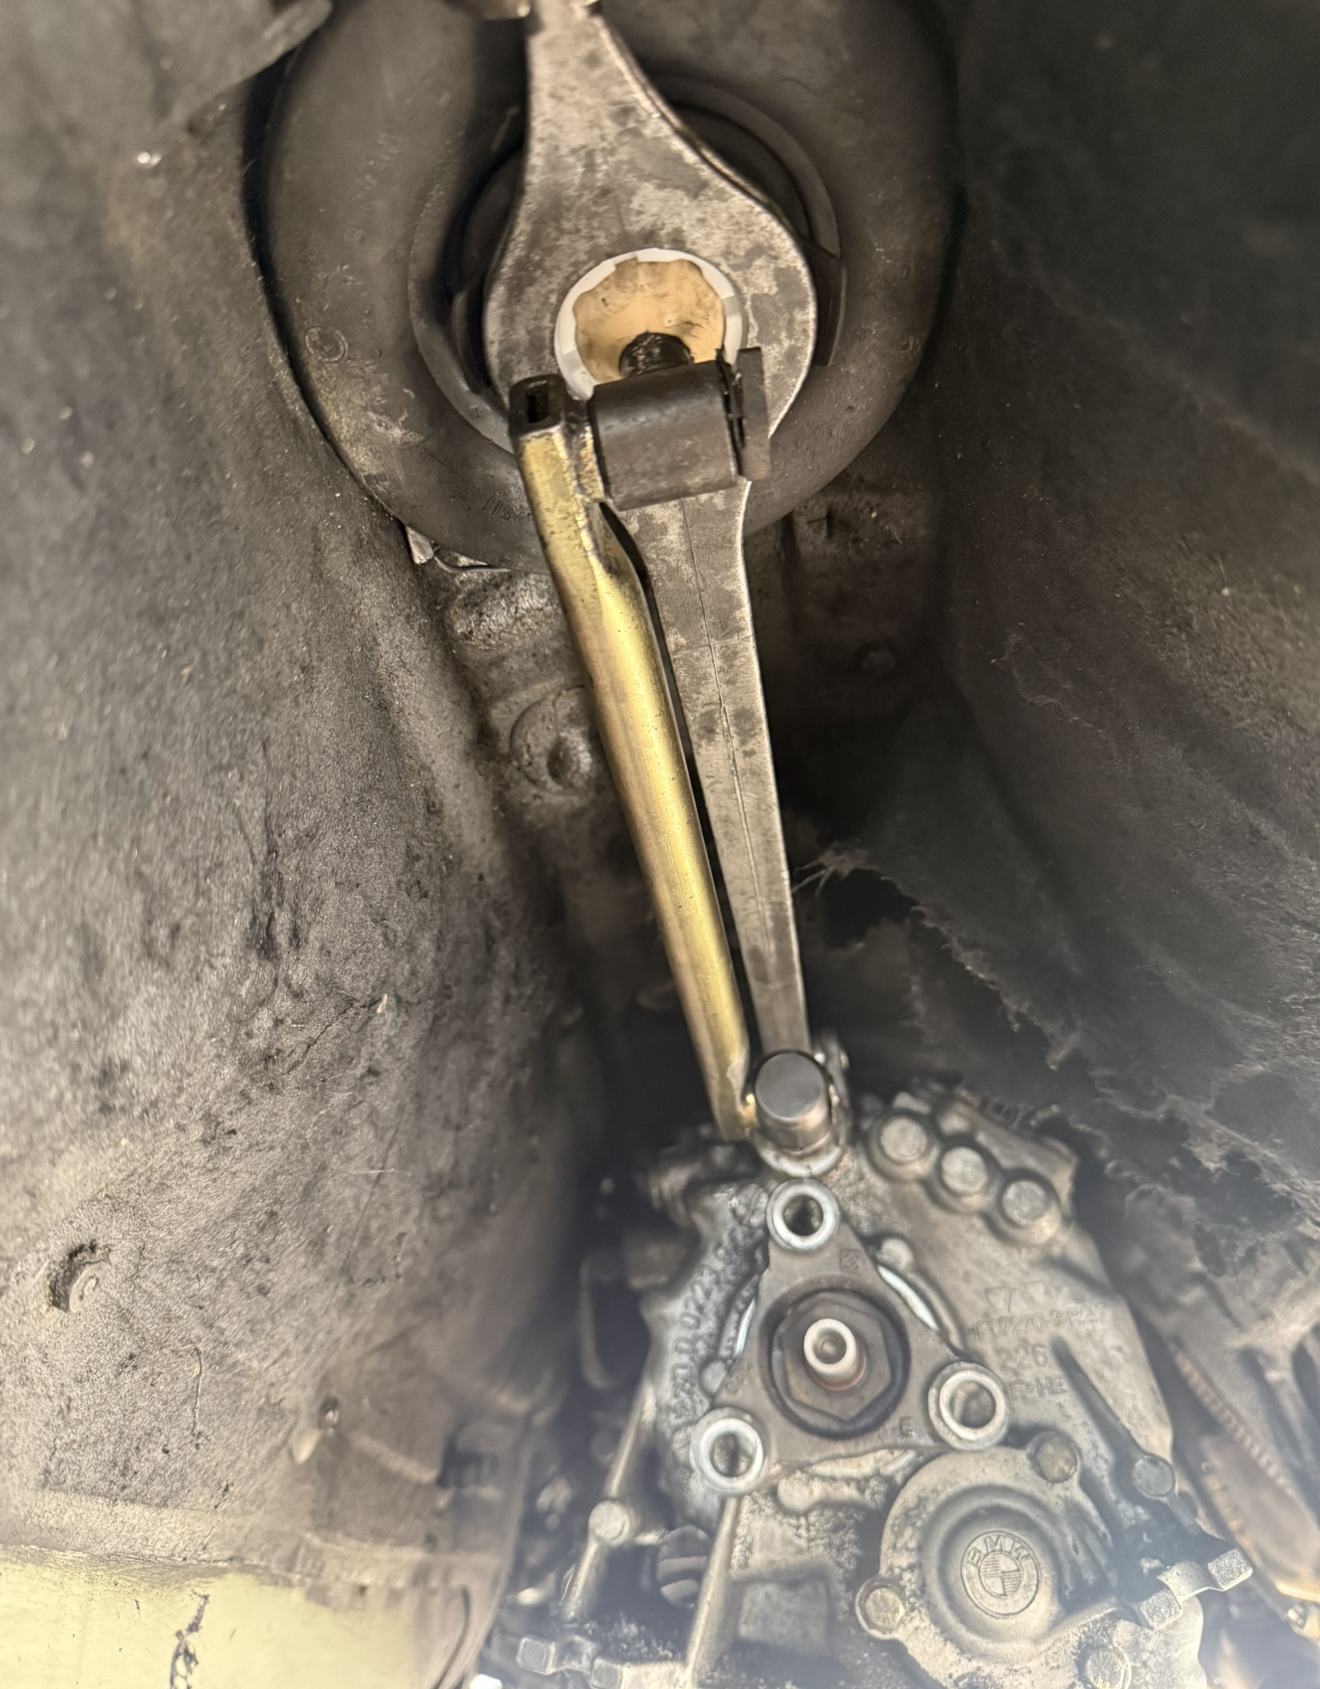
Overall, the shifter feels much firmer now, but there’s still a bit of side-to-side play, mostly coming from the shifter rod. I’ll eventually install a dual-shear shifter rod to take care of that, but for now, it’s a huge improvement over before.
Tools Used
- 10mm, 13mm, 17mm, 18mm sockets
- Ratchet + extensions
- Jack & stands
- Breaker bar
- Impact gun
| ⏱ Time Taken | 🔩 Difficulty |
|---|---|
| ~1 hour | ⭐⭐☆☆☆ (Easy) |